Don't be intimidated by making your own pizza dough, it's quite simple once you get the hang of it! This dough is perfect for a DIY pizza night at home. Everyone gets to pick their favorite toppings!
Confession: I've always been in love with pizza. I thought it was one of those things that you grew out of once you stop ordering off the kiddie menu, but I'm well into adulthood and my love for pizza has only grown stronger.
At the time I'm writing this post, my current part time job is at a bar/restaurant. It's not glamorous, nor my ideal life situation at the current moment, but I am certainly grateful for the opportunity to surround myself with food that is (for the most part) created from fresh ingredients. As an onlooker in a professional kitchen, you will definitely pick up new skills and knowledge.
Awhile back, an older gentleman, Bob, was the main pizza chef. He was Italian, very astute in his observations of things, and a damn good pizza chef. His weathered hands knew how to manipulate pizza dough without a rolling pin, and he was wise enough to know that tossing your dough into the air was mostly for show and hardly for technique. He was old-fashioned and a man of habit, and I think that was why I admired him so much.
Before he stopped working in the kitchen due to a decline in his health, I asked him for the pizza dough recipe he always used--this is the recipe he used for years in the kitchen of the restaurant, scaled down to about ⅛ the size of a batch of dough they would usually make. They make a lot of pizza dough. Don't be intimidated by making your own pizza dough, it's quite simple once you get the hang of it!
The guys in the kitchen always use the industrial sized mixer with the dough hook attachment, but I figured scaling it down meant I could use my Kitchenaid stand mixer and dough hook attachment. Of course, if you don't have a stand mixer with dough hook, kneading by hand is always an option. I'm sure Bob probably did a lot of kneading dough by hand in his time. Not familiar with working with dough? Be sure to read through my notes and instructions before diving straight in.
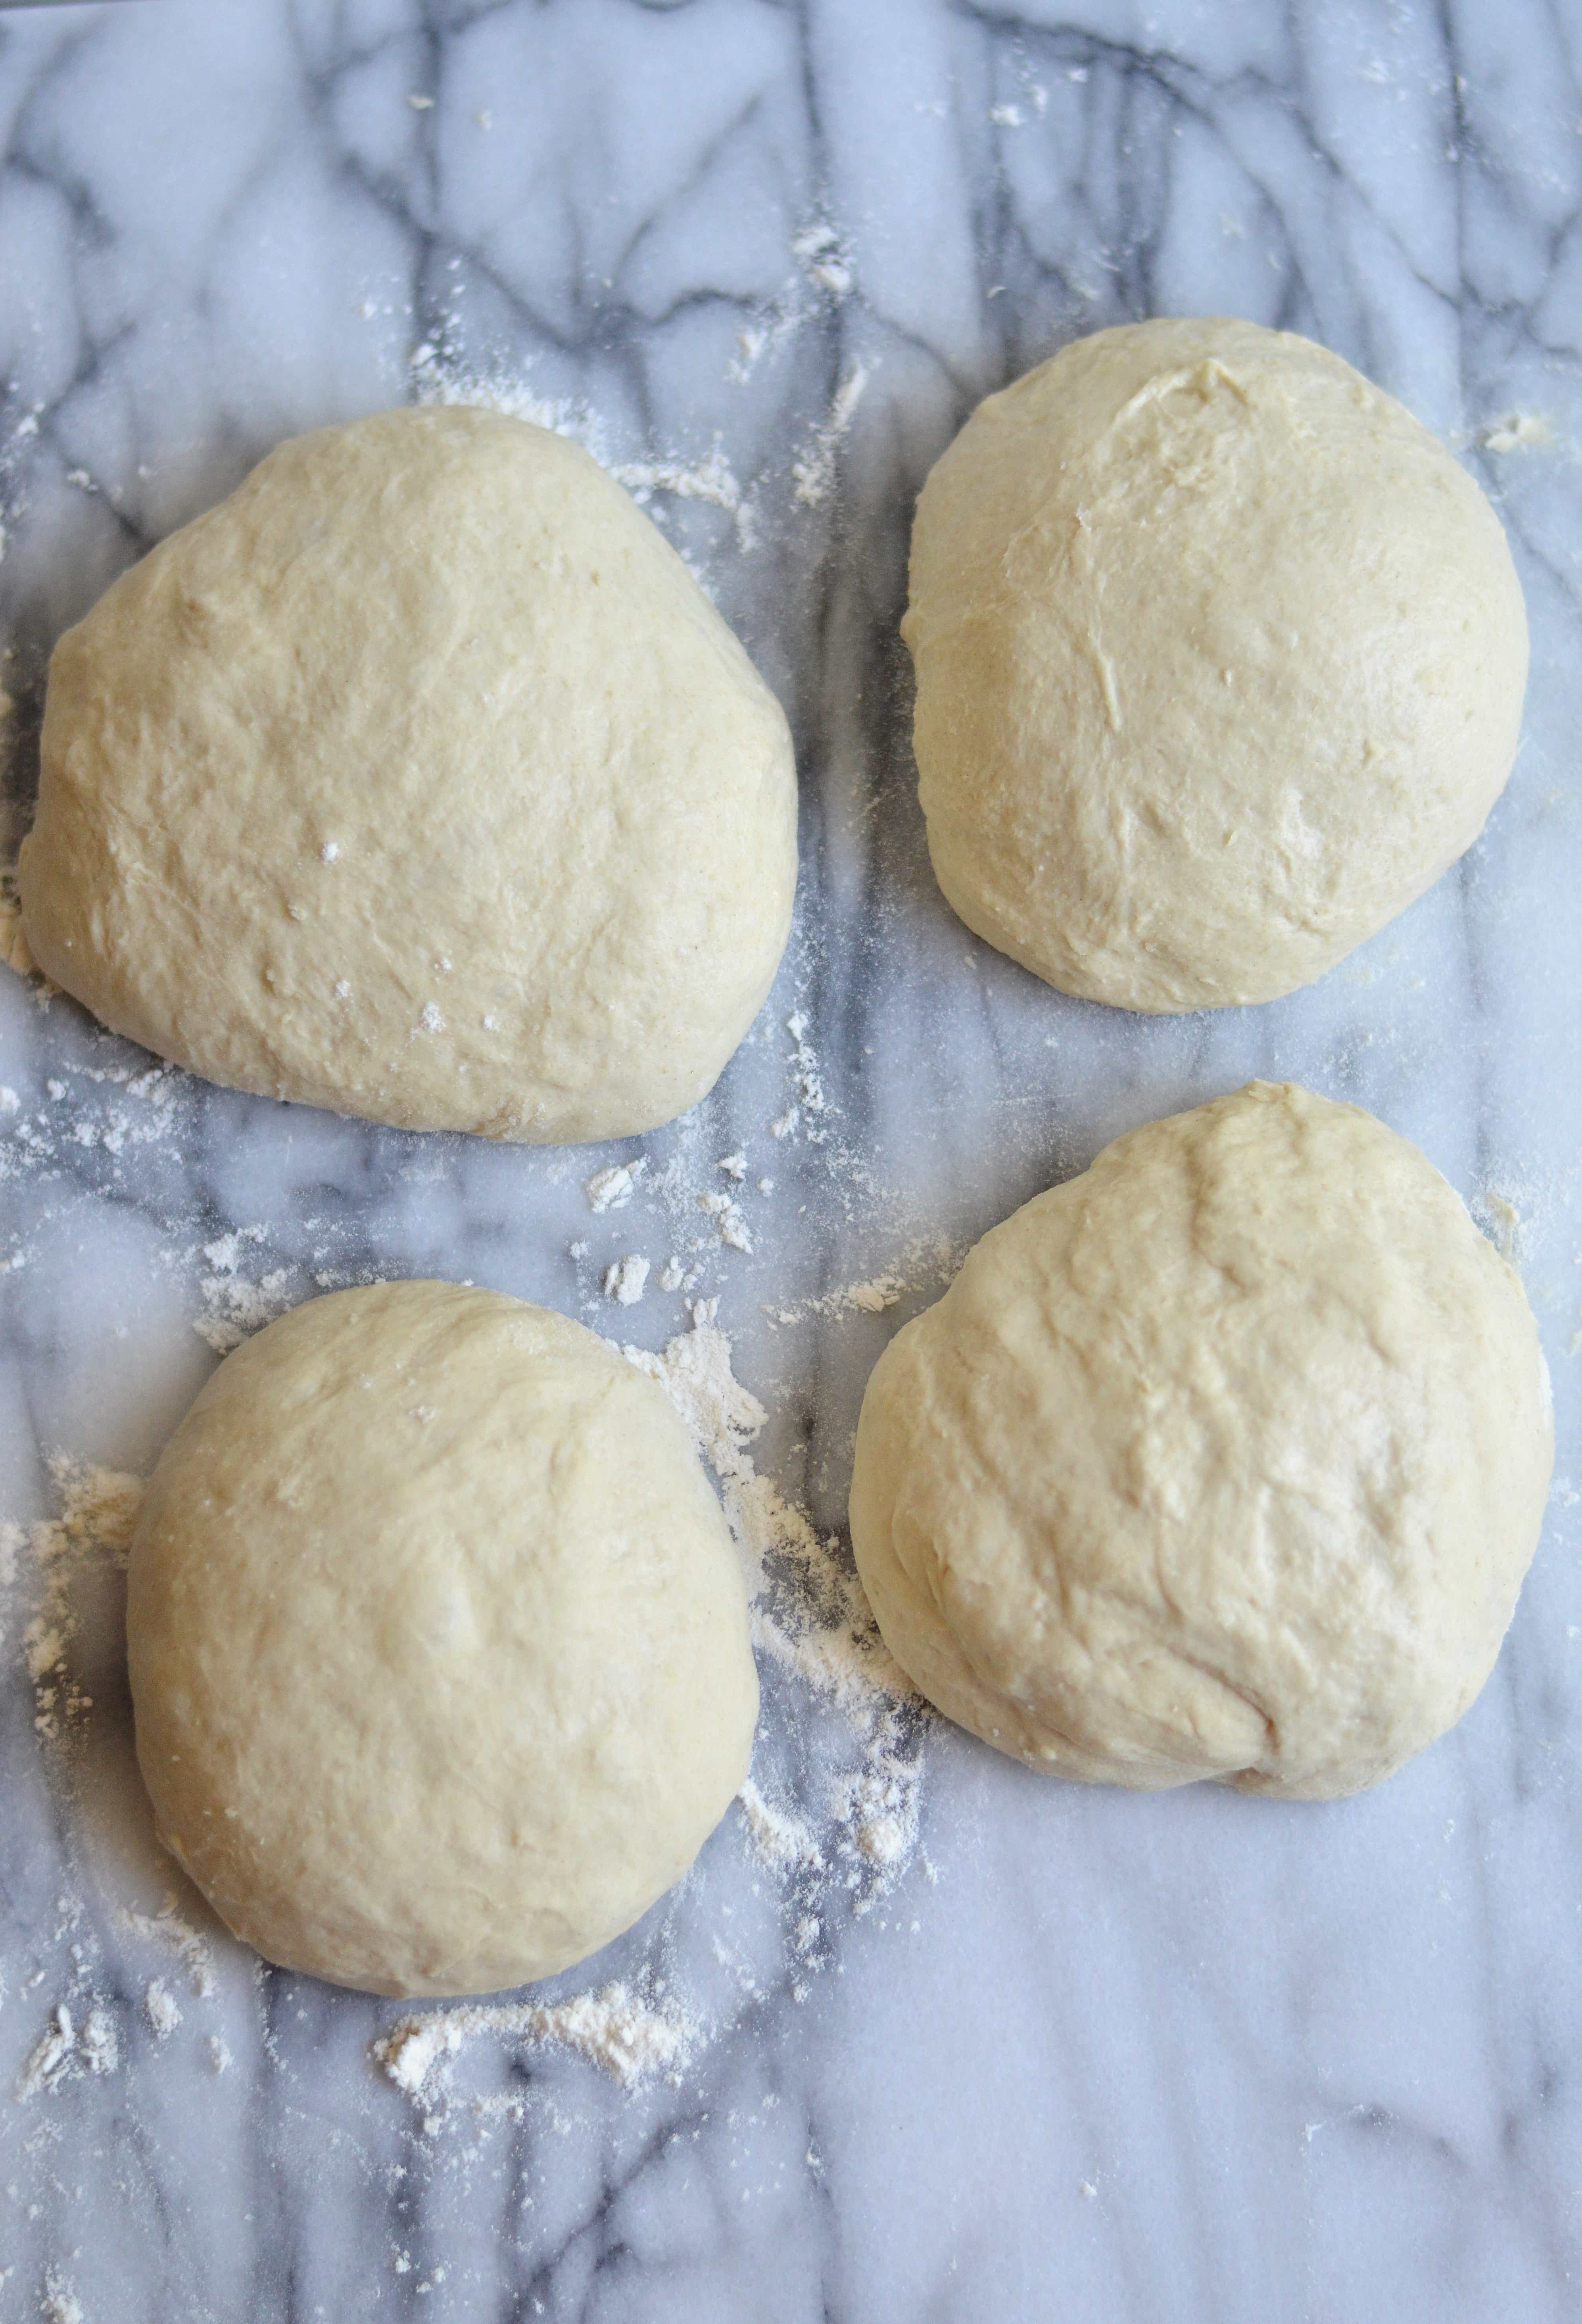
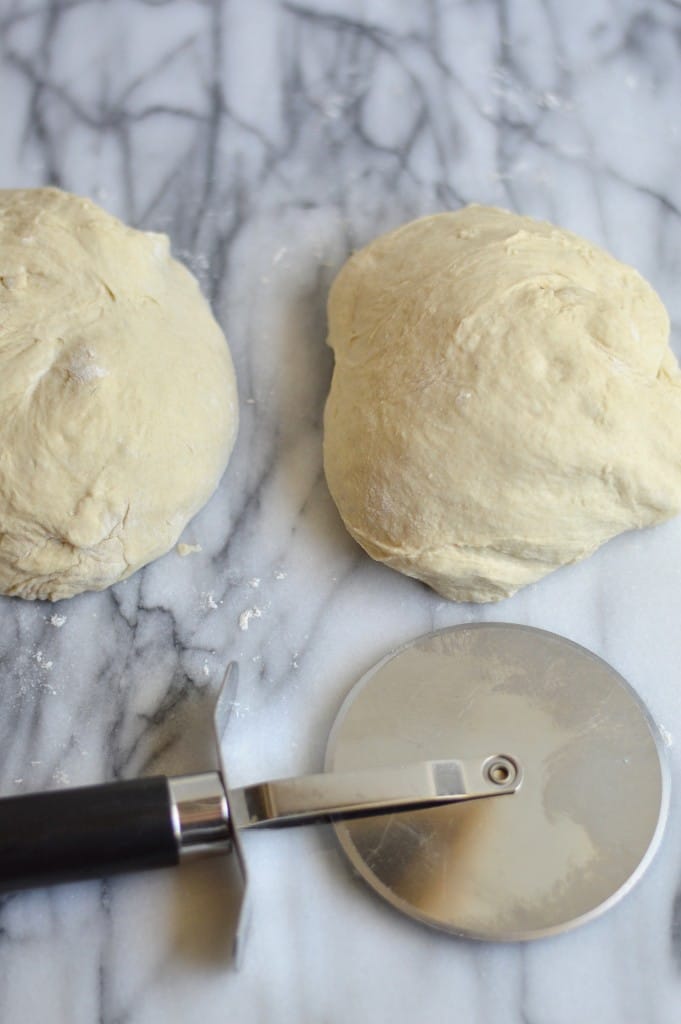
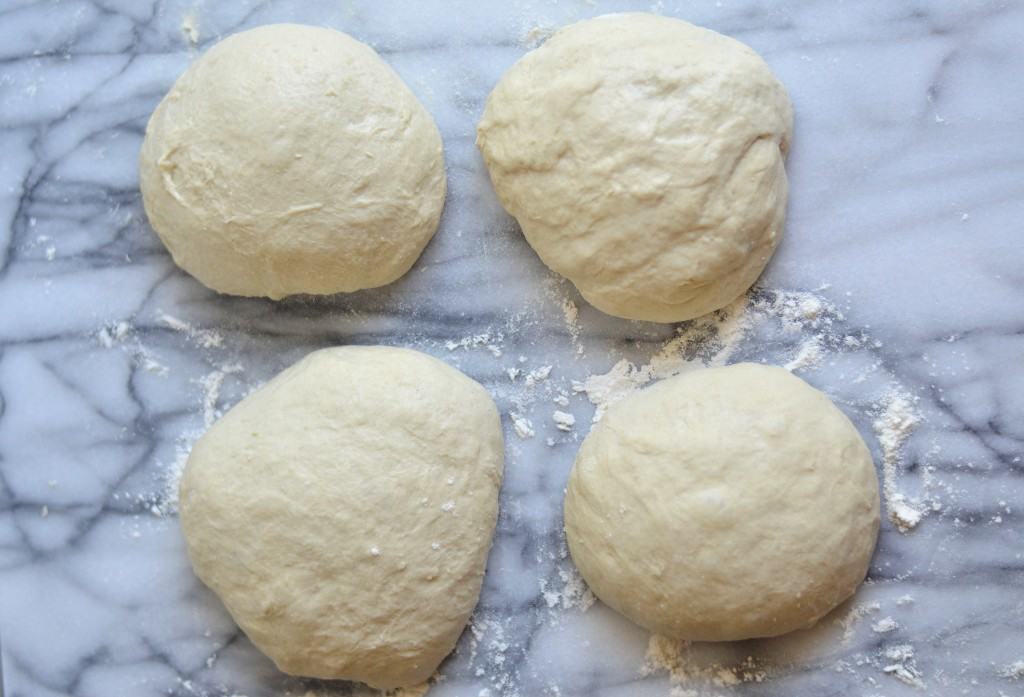
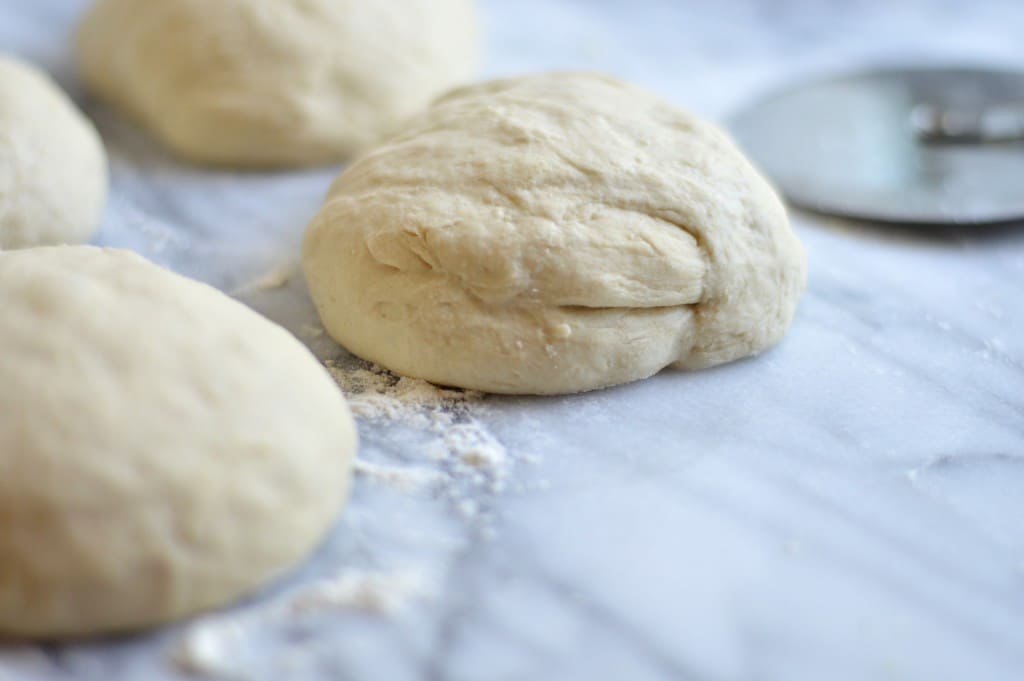
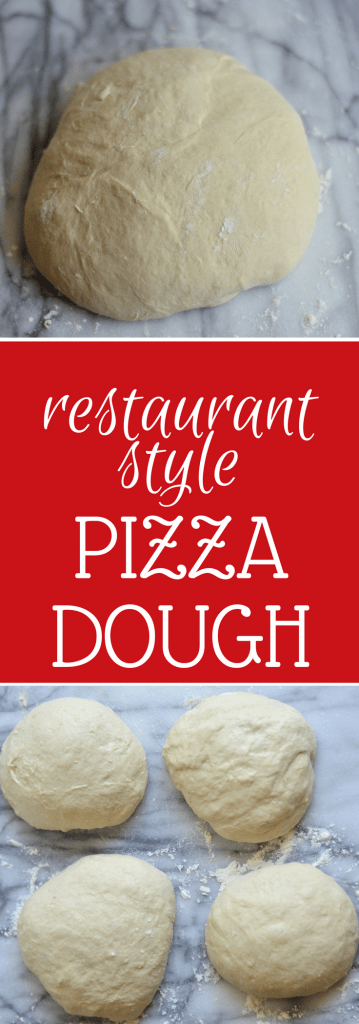
The initial dough ball made four smaller doughs. Cut in half, then in half again.
Since I wasn't planning on eating four pizzas at once, I formed the dough into circular balls and put two in the refrigerator inside separate plastic baggies greased with cooking spray. I threw the remaining one in a pyrex dish into the freezer.
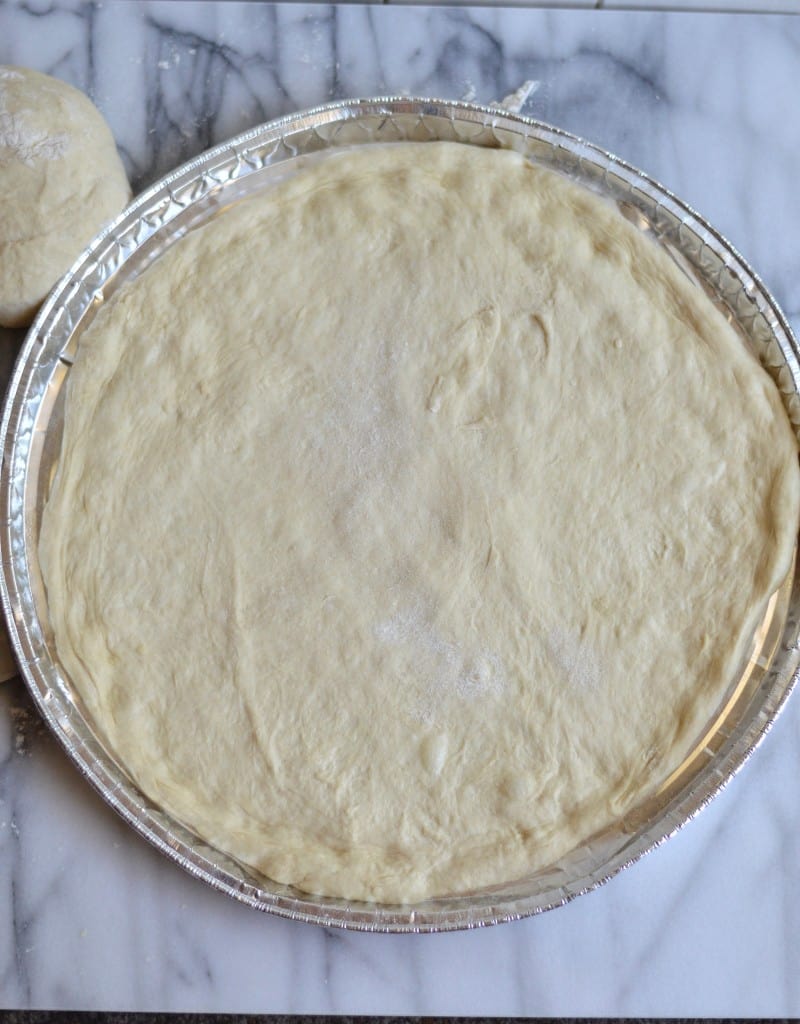
Be very liberal with the amount of flour you use while rolling out the dough. You don't want your dough to stick to the rolling surface. Transferring rolled out dough from the counter to the pan is always my least favorite part. Be careful to not rip the dough! If this happens, I usually just pinch together the surrounding areas to close up the hole.
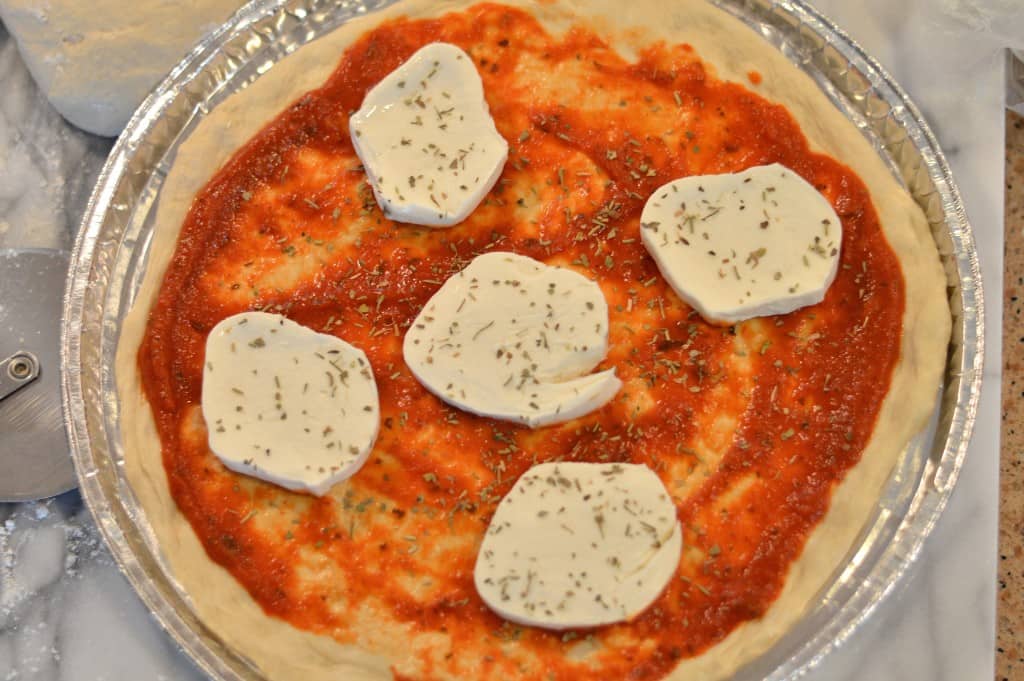
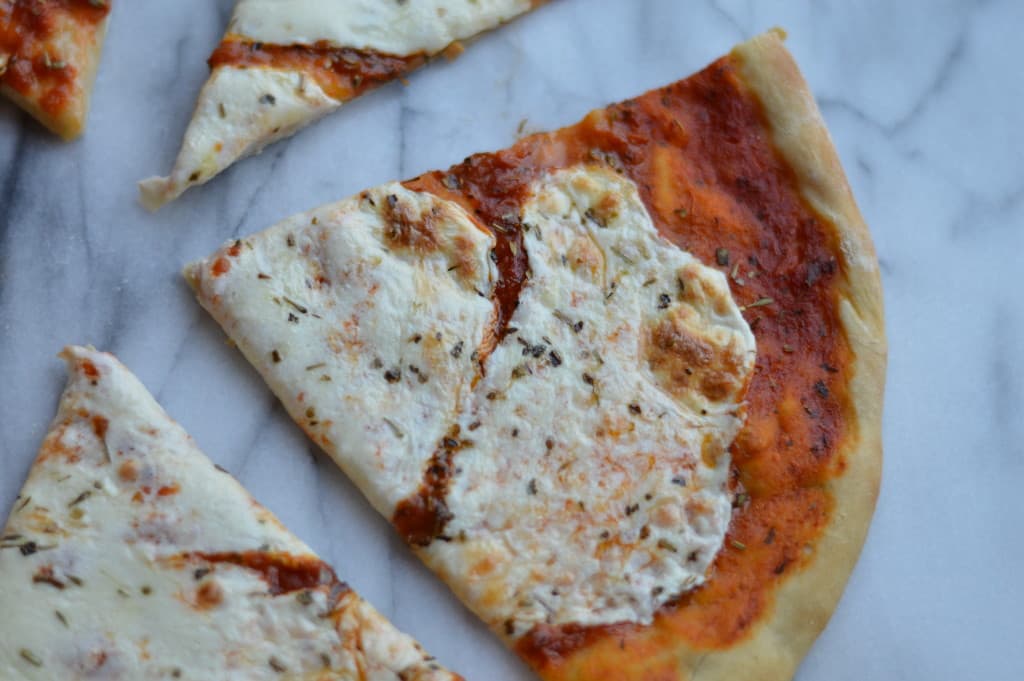
Although I'm a fan of all sorts of pizza toppings, this time I chose the very plain sauce and cheese route. Sometimes a classic is just what you need. This is sliced fresh mozzarella and jarred sauce with a liberal dousing of dried Italian seasoning from my spice rack.
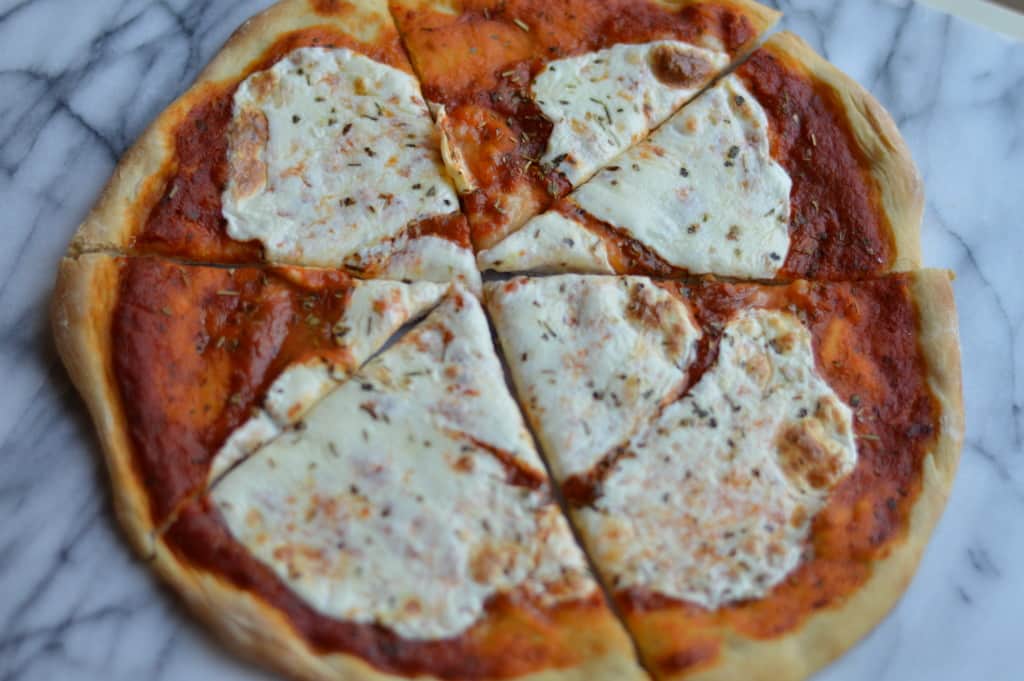
As always, cook to your preferred level of doneness. I love slightly underdone pizza that still has a bit of crunch, so I use a high cooking temperature and only cook for a short amount of time.
Mmmm, pizza.
Feeling frisky? Bob used this same dough to make calzones, a cheese lover's dream 😍 my favorite rendition of his calzone was one with breaded chicken cutlets, bacon, mozzarella and ricotta <3 pardon me while I dream of this beautiful creation.
What will you put on your pizza?
Restaurant-Style Pizza Dough
Don't be intimidated by making your own pizza dough, it's quite simple once you get the hang of it! This dough is perfect for a DIY pizza night at home. Everyone gets to pick their favorite toppings!
Ingredients
- 2 ½ cups all purpose flour + more for dusting
- ½ cup semolina flour
- ¼ ounce salt, use kitchen scale for accurate measurement
- 1 ounce olive oil
- ¼ ounce yeast, dissolved in water
- 1 ½ cups hot water at 115°F
Instructions
- Using a thermometer, heat water to 115°F.
- Add yeast to hot water and stir, then let sit for 10 minutes until foamy.
- Mix together dry ingredients.
- Add olive oil to yeast/water.
- Slowly add in dry ingredients to water.
- Attach dough hook to stand mixer. On medium speed, allow dough to come together. If dough seems too sticky, add more flour as needed.
- Once the dough is no longer sticky to the touch, transfer to a flat surface (such as a counter) to let the dough rise.
- Cover with a tea towel or plastic wrap and leave the dough for 15 minutes at room temperature.
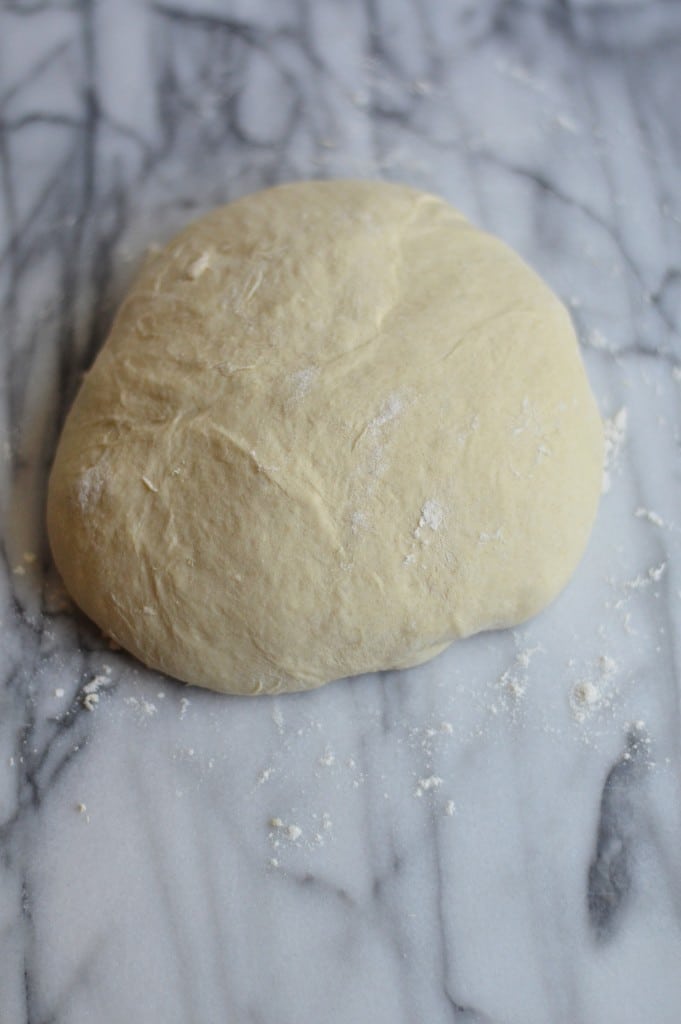
- Divide the large dough ball into four smaller doughs and roll each into a circular ball.
- For doughs you aren't using immediately, place in a container with an airtight seal and refrigerate for up to 4 days. Doughs can also be frozen for a longer period of time.
- **To make the pizza: dust your rolling surface liberally with flour. If you have the time, allow dough to rise at room temperature for a few minutes before rolling out.
- Preheat oven to 450°F
- Working in a circular motion, roll out dough until it is flat. If you like thin crust, roll out thinner.
- Transfer to a pizza pan or pizza stone.
- Add desired toppings and cook for roughly 15 minutes. If you prefer a 'well done' pizza, leave pizza in the oven for a bit longer.
- Remove from oven and let cool slightly before slicing.
- Enjoy!
Notes
- I'm pretty sure they still use a slight variation of the recipe Bob gave me, but I prefer his recipe. Bob was the man.
- I use Red Star yeast (in the jar instead of packets) and I always love the results I get when testing out different pizza dough recipes. The guys in the kitchen use a pungent smelling yeast from a block, but I prefer the Red Star yeast. Making sure the water you mix with the yeast is up to the current temperature is crucial to the dough's end result.
- Semolina flour is one of those specialty flours I had a hard time finding the first time around, but they do carry it in smaller sized bags at my grocery store. Bob's Red Mill semolina flour is great with providing excellent quality specialty flours that are usually found in your normal baking aisle.
- This dough cooks well in a preheated oven with a pizza stone, plain old greased and floured pizza pan, or even on the grill. Toppings are totally up to you--some of my favorites are buffalo chicken, meatballs/onions, vodka sauce, or a classic white pie with ricotta cheese and some freshly minced garlic.
Nutrition Information:
Yield: 4 Serving Size: 1 gramsAmount Per Serving: Unsaturated Fat: 0g
I'm also a big fan of cooking pizza on the grill. Let's face it...I'm a fan of all pizzas and all the ways they are cooked.
Don't forget to click the photo below to PIN this Pizza Dough Recipe on Pinterest!



Harold Burton
I’ve been using ground turkey for years. I personally don’t like the taste of ground beef. Turkey will take the flavor of any seasoning you add and it is much lighter than beef. These meatballs look fantastic. Whenever I’m making spaghetti my guys always want meatballs. Pinning!
Harold Burton
Andrea Howe
We love making homemade pizzas, but often bought store made dough. I can't wait to give this a try and make our own! Thanks for sharing
Michael Miller
Hi,
I have a few questions.
1-why would you list small increment ingredients like yeast or salt in grams, but not do so for the flours or water, which are more important to the success of the recipe?
2-Isn’t this dough very soft and hard to handle, since it is so high in hydration? It is much softer than most pizza doughs.
3-What size pizzas did you make with a ball of dough?
4-Do you ever shape your dough by hand, so as to not eliminate all of the air bubbles in it?
Thanks
REPLY
Jessica
Hi Michael, thanks for leaving a comment. Sorry for my delay in getting back to you - I've had a lot of personal matters to deal with lately.
1. I listed the ingredients as they were dictated to me, albeit in much smaller quantities because this recipe was originally given to me in its original format to make enough dough to accommodate a day or two of service in a restaurant. I agree with you that there should have been some kind of consistency in terms of measurement, but I would watch them weigh the yeast with a kitchen scale and use flour scoops to rough measure the flour. It's been awhile since I have personally remade this recipe so when I do again I will update the recipe card with the weight in grams.
2. I didn't find the dough hard to handle. I will always dust my hands with flour as well as the surface I roll the dough out onto to prevent it from sticking.
3. I usually use a 14" pizza crisper pan to bake my pizzas on. This is the one I typically use: https://www.williams-sonoma.com/products/goldtouch-nonstick-pizza-crisper/?sku=8235855&cm_ven=PLA&cm_ite=8235855&cm_cat=Google&cm_pla=Local&gclid=CjwKCAiAyeTxBRBvEiwAuM8dnV5JhfbU-5-Cq7kvixmzapQiHSjC9KUjVGglaTOmwit3RmTDx3ANOBoC_-8QAvD_BwE I've also had success on a preheated pizza stone, but I usually use the crisper pan because I usually forget to preheat the stone ahead of when I want to make pizzas.
4. I do shape the dough by hand when I have the time. If I pull a dough from the refrigerator and it's a little cold I will usually roll it out, but if I have some time to let it get closer to room temperature I will shape it by hand and do the tossing and pulling on top of my knuckles like they do in restaurants. I prefer a pizza with bubbles too and will usually get a bubbly crust by cooking my pizzas on the grill like I do with this recipe: https://citrusanddelicious.com/homemade-grilled-pizza/
Hope this helps a bit and thanks again for stopping by my site.
Alisha Ross
Pizza is my favorite thing to cook with the kids. It is one food that their “help” can actually be help. You can’t really screw up putting toppings on, and they love to customize their own little pizzas.
Marguerite Thomas
How does 1/4 ounce of yeast translate to teaspoons? About 8 gms or 2 1/4 teaspoons?
Jessica
Hi Marguerite! Yes, 1/4 ounce of dry yeast translates to 2 1/4 teaspoons - usually the standard amount in one of the pre-portioned packets of yeast.
Irene Riley
4 star because the water temp is wrong. I think you read the KA flour article on yeast proofing wrong. It states that the temps from 120 - 140 are a killer.
the pizza recipe is great though, made it & loved it.
thanks,
Irene
Jessica
Hi Irene, thanks for coming to leave a comment! I transcribed the original recipe from the chef who had memorized it and that was the temperature he had stated. I looked up the KA article to see what temp yeast proofed ideally at and saw that what he said was on the side where yeast would die. I know I'm supposed to be giving very precise instructions, but I usually just use water from the tap that is hot to the touch but not burning hot. I'm glad you enjoyed the pizza dough recipe - I think the semolina flour gives it a nice flavor that other recipes I've tried just don't have. Thanks again for stopping by!
Anne
Are your temps in celcius? I also use Red Star active dry yeast and it dies at temps over 115.
Jessica
Hi Anne! No, the temperatures are in Fahrenheit. Yeast begins to die over 120 degrees but I usually use warmer water because it does cool off pretty quickly. Prime yeast fermentation temperature is between 120 and 140 according to this article from King Arthur Flour. https://www.kingarthurflour.com/learn/yeast-bread-primer.html - if you believe it's a bit too hot, feel free to use water that's a bit cooler. Hope this helps and thank you for leaving a comment!
Mir
Pizza is never a bad thing! It must be cool to watch the experts work in a restaurant kitchen with huge appliances. This looks great!
Jessica
It is pretty cool! It kind of makes me think that a little Kitchenaid mixer ate the 'grow larger' slice of bread from Alice in Wonderland and grew 10x its size. I hope my analogy makes sense!
Rachel @the dessert chronicles
Pizza never gets old! I always love trying new recipes to make it from scratch too!
Jessica
Me too! I'll try all sorts of homemade doughs just to see how they stack up to what I know and love 🙂